Embroidery
Upcycling Clothes with embroidery. This workshop aims to teach people how to upcycle their damaged clothing with art of embroidery.
Why
This workshop aims to teach people how to upcycle their damaged clothing with art of embroidery. Instead of throwing these pieces away, you get to give them a second life and keep using them. Even simple embroidery stitches can transform and personalise your clothes and make them fun and unique.
Embroidery can also be very mindfull, and teach you about ways to keep your favourite clothing pieces just a little longer in your life.
What?
Didactics
- Competence: Embroidery, upcyceling
- Theme: Upcycling with embroidery
- Learning objective: How to elongate the livespan of your clothes and personalize them with embroidery, and basic embroidery notions.
Who, where, how long
- Number of students: 11 students (including 1 professor)
- Location: makers lab classroom
- Time: 75 minutes
(10 - 15 minutes per step)
Prepare and bring
what students had to bring:
- A clothing piece they want to upcycle. This could be anything. It would be prefered if they brought something they could finish within the given time.
What was given in by the organising team:
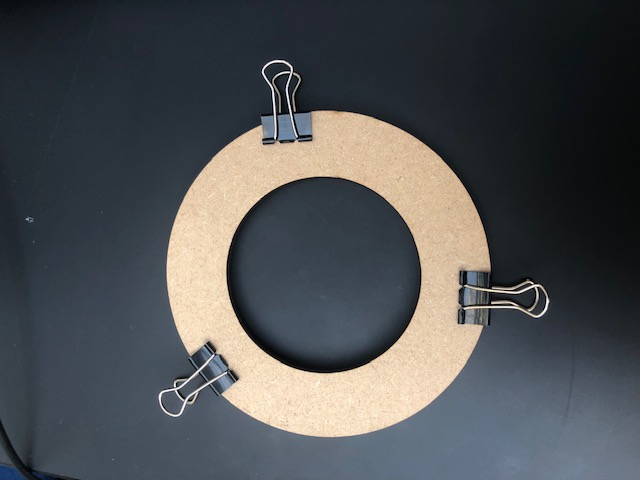
- Embroidery hoops, this can also be a custom made frame out of MDF with clips. As long as the fabric can be tentioned.
- Embroidery needles, normal needles are also fine but see if the eye is not to small.
- Embroidery floss. Cheap floss is fine!
- Scissors
- Pens and pencils to draw the design.
- A handout (in a zine format) with tips on the embridery process and after care

what to prepare
- We had prepared a basic “geting started” video tutorial beforehand. In this video we discuss what length of floss you shold cut,ow to split the floss, how to threa the needle and tie a knot. All also included in the handout. Video: Channel: Yonne Oskam, Title: Getting started with your embroidery project☀️
- also had some tutorial videos on simple stitches on the presentation.
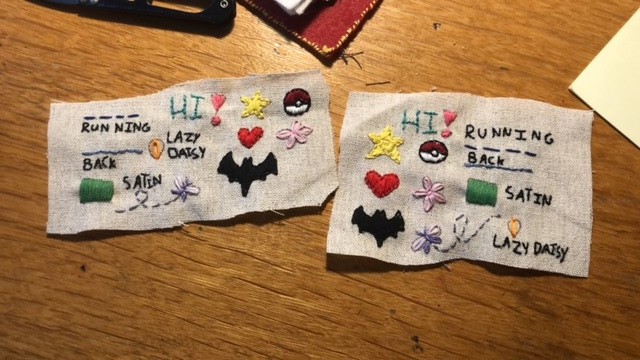
- Also had some tutorial videos on simple stitches on the presentation. For this workshop you can use any but the basics are the running titch, the backstitch and the satin stitch.
- Already embroider some samples so people can see what the stitches look like in real life
Want to know more about this topic?
Book
Articles
-
18 basic hand embroidery stitches to start stitching like a pro
-
Embroidery for Beginners: How to Use an Embroidery Hoop. By the channel: Lia Griffith
How?
Explain your workshop in 5 steps.
Step 1
5-10 minutes
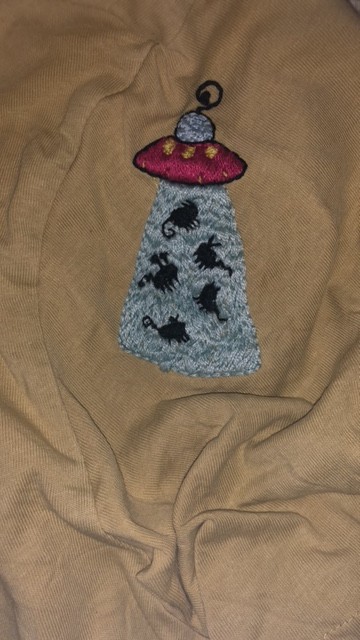
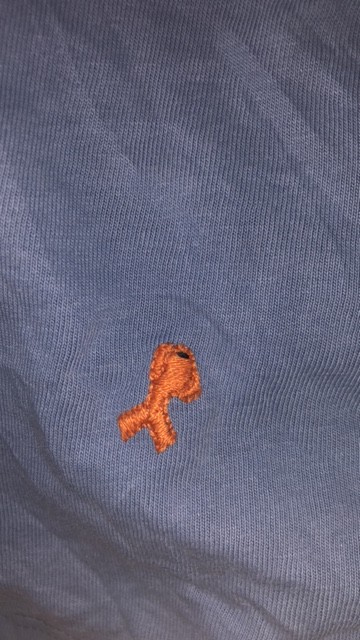
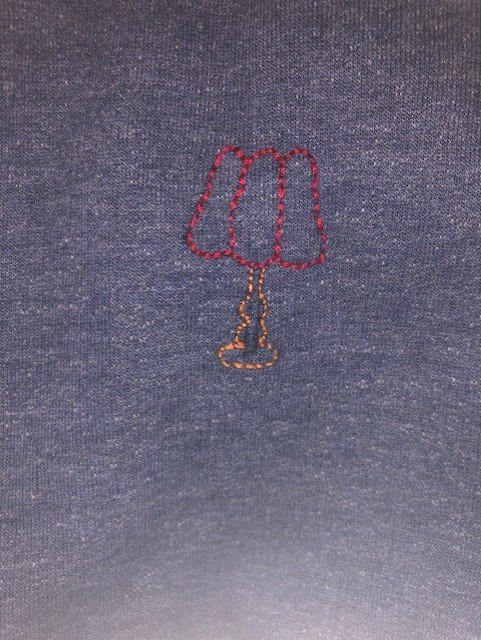
Getting your clothing pieces and tentioning them on the hoops. Choosing your design and the colors needed. For the time it is best to do a small design (not bigger than 2x2 cm or 1x1 inch).
Step 2
5-10 minutes
People get the time to watch the video’s and prepare for the embroidery (maybe show the video’s for the whole group at the same time). People draw on their design. And get their needle and embroidery floss.
It is best to let them cut off a piece of thread at the table rather than take the whole skein of embroiderly floss, so everyone can see all the available colours.
Step 3
45 min to 1 hour
Embroidery time!
Step 4
10 min to 15 min
Show off your work!
Step 5
Cleanup!
Perhaps gather materials for finishing the project at home.